 lunabia
Babybauch photos: how to shoot a monthly bump series yourself
A single bump photo each month only becomes a real series once the spot, light, distance and clothing stay the same. With a little effort, you can build a sequence you'll love looking back on later.
Why the same shot makes all the difference
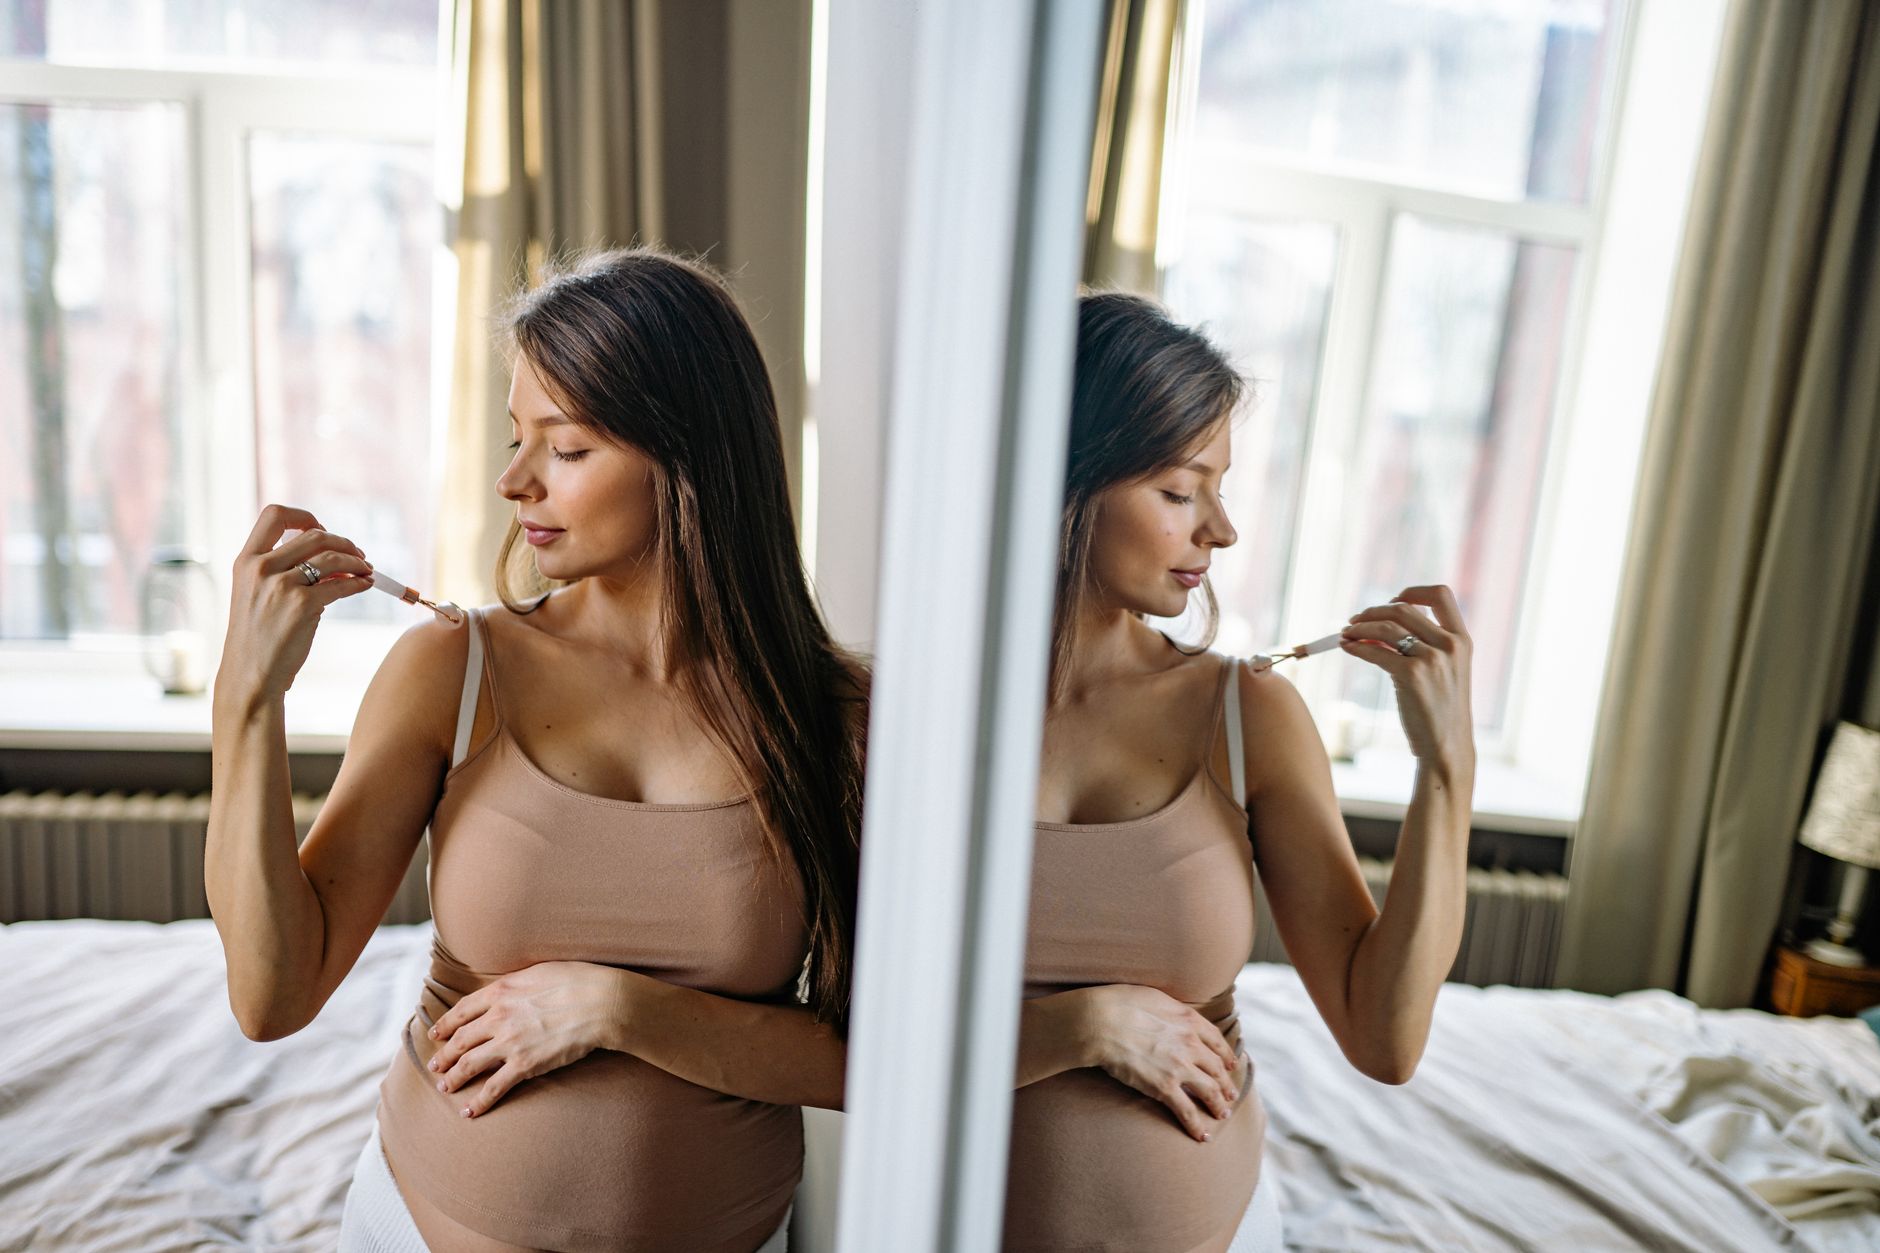
A single bump photo captures one moment. It's only the full series that shows what happens over nine months. For that to work, as little as possible should change between shots. If the spot, light, distance and clothing stay the same, almost the only thing that changes in the picture is your belly. That's exactly what makes the series so striking later on, even though each individual photo might seem unremarkable on its own.
You don't need a studio or an expensive camera for this. A phone is enough. What matters more than the gear is repeating the same small decisions, month after month.
The right spot and the right light
Pick one fixed spot in your home where you'll take the photo every month. A plain wall without a pattern works well, since it doesn't distract and won't change if you rearrange furniture. A nearby window is helpful too: daylight is softer than artificial light and doesn't distort skin tone and colours as much.
Try to shoot at a similar time of day each month, say mid morning or just before dinner. Light shifts a lot over the course of a day, and a photo taken at nine in the morning looks quite different from one taken at seven in the evening. If you pick a time that already fits naturally into your routine, the ritual becomes easier to keep up, and you're less likely to forget it.
Distance and angle
The distance to the camera determines whether the photos will line up well later on. The simplest trick is a mark on the floor, a strip of painter's tape works fine. You stand on the same spot each time, and the camera stays at the same height and angle. A small tripod or phone stand helps too, since you won't have to guess the position freshly each month.
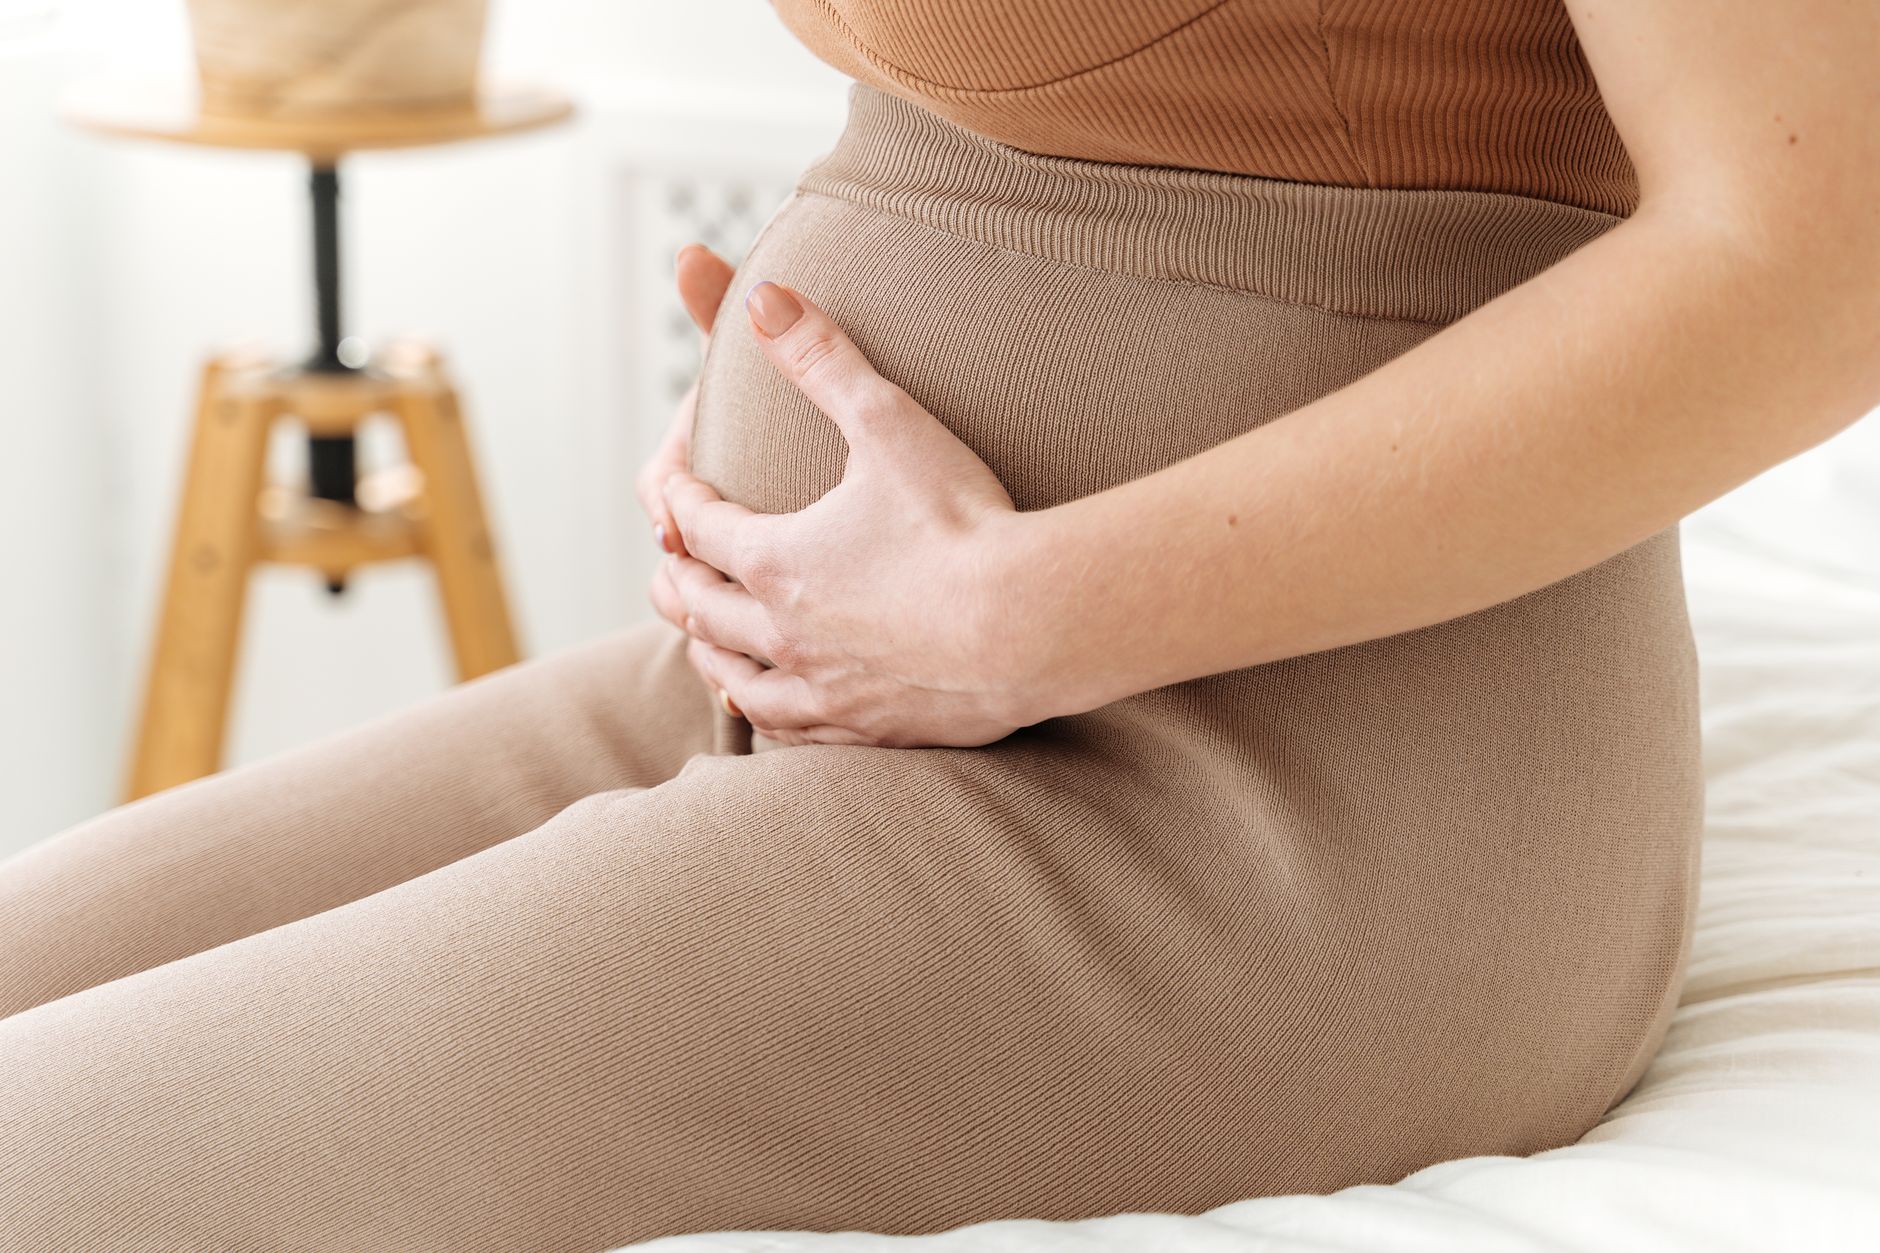
Shoot from the side, not head on. From the side, the curve of your belly is easiest to see as the months go by. One hand resting on your belly, or both hands in a similar position, also gives the series something recognisable to hold onto.
Clothing and pose
Wear similar clothing for the photos if you can, for example always a close fitting top or the same high waisted skirt. It doesn't need to be the exact same piece, but the cut and colour should be alike. Loose clothing hides the change, while fitted clothing shows it more clearly.
Repetition helps with your pose too. Stand the same way each time, with the same foot slightly forward or both feet parallel, whatever feels comfortable to you. The less you have to think through fresh each time, the easier it is to keep the project going over months, even on days when you're tired and not really in the mood for photos.
Technique: self timer, tripod or a partner
If no one's around to take the photo, a self timer comes in handy. Most phone cameras have one built in, often with a three or ten second delay. A small tripod, which costs just a few euros, makes things far easier than propping your phone against the wall.
If a partner is taking the photo, agree beforehand on the height and distance you want, ideally using the previous month's photo as a reference. That way the series stays consistent even if different people end up taking the shot.
When in the month to take the photo
Pick a fixed day, for instance always at the end of the pregnancy week that matches your due date, or simply the same calendar day each month. Some people use the day of their midwife appointment, others the first Sunday of the month. What matters is having a rhythm you can remember without having to think about it too much.
Some pregnancy apps, including Lunabia, let you save a bump photo for each month right in the app and show the series side by side later on. That doesn't replace your own care with light and distance, but it does help you avoid missing a photo and end up with a complete series.
What you can still adjust afterwards
If one photo turns out brighter or darker than the others, your phone's editing tools can usually even that out. A slight brightness or contrast adjustment is often all it takes, without reaching for heavy filters. Strong filters change skin tone and proportions, which tends to look jarring rather than cohesive across a whole series.
If you like, you can arrange all the photos side by side at the end, sorted chronologically, so the progression is visible at a glance. This is especially worthwhile for the final weeks before birth, when the change from month to month is greatest and the difference from the very first photo is most striking.
FAQ
From which week should I start taking bump photos?
In theory you can start right from the positive test, but for most people the bump only becomes visible from around week 12 to 16. Some people only start the series deliberately at that point, while others photograph from the very beginning to document the time before, too.
How often should I take a bump photo?
Once a month is plenty to show the change over the course of pregnancy. If you want, you can switch to a weekly rhythm in the final weeks, since more changes happen in a shorter time then.
What's the best light for bump photos?
Soft daylight from the side, for example through a window, looks more natural than direct flash or overhead lighting. The simplest approach is to photograph at the same window at the same time of day every month.
Do I need a tripod for the photo series?
It's not essential, but it helps, since it lets you keep the distance and height the same every month. Without a tripod, a mark on the floor and a partner holding the phone from a similar position works just as well.
This text does not replace a visit to your doctor or midwife. If something hurts or worries you, call them, even at night.
All posts on this topic: Pregnancy: week by week, with the tools to match